Wherobots Cloud allows you to quickly start pre-configured JupyterLab instances for spatial computing, eliminating the need for manual infrastructure setup and software configuration.
There are two ways to run a Wherobots notebook. Pick whichever fits how you like to work — both execute on the same Wherobots compute.
Run notebooks in Wherobots Cloud
Start a pre-configured JupyterLab instance in your browser. Nothing to install.
Run notebooks in VS Code
Keep notebooks local in VS Code, Cursor, Windsurf, or Kiro and run them against a remote runtime.
How does Wherobots Cloud simplify geospatial analytics?
Wherobots Cloud offers: No installation, scalable processing, enhanced collaboration, pre-built geospatial tools, cost-effectiveness, and easy S3 data integration.
You aren’t limited to the JupyterLab instance in Wherobots Cloud. With the Wherobots VS Code Extension, you can keep your notebooks on your local machine and run them against remote Wherobots compute — in VS Code and other Code OSS editors, including Cursor, Windsurf, and Kiro.
Organization Availability: Available to all Wherobots Organization Editions (Professional, Innovation, and Enterprise).
Run the Day 1 notebook
Run a notebook you already have
Generate a new notebook with AI
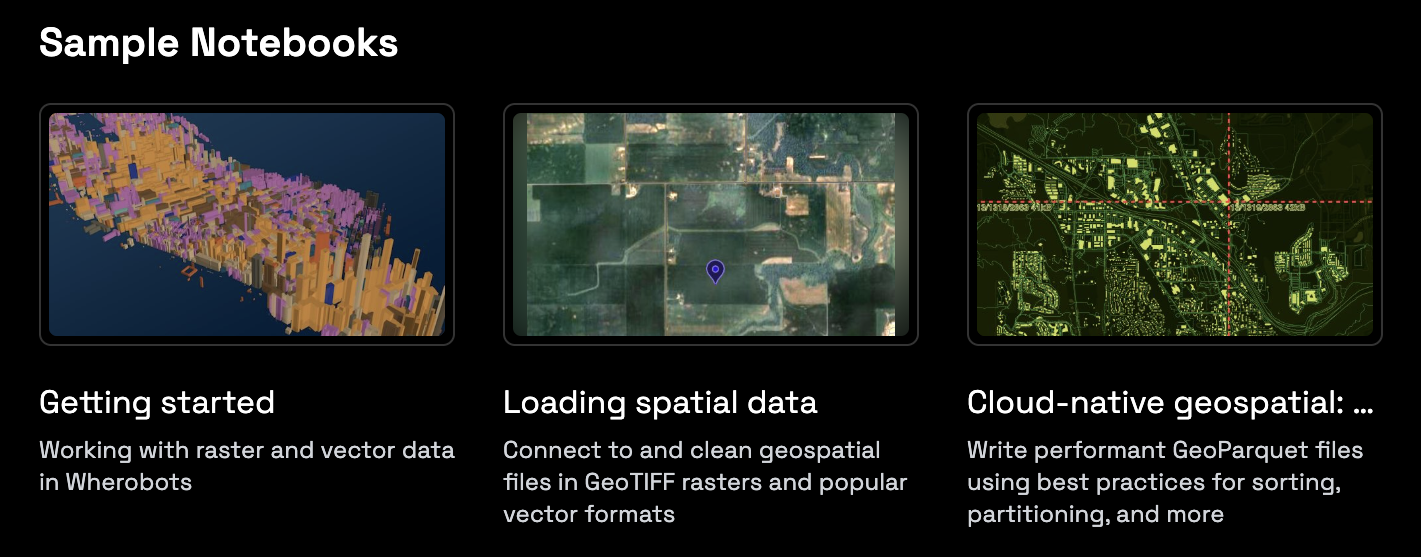
The extension includes an Example Notebooks browser, so you can run the same Wherobots Cloud Example Notebook without leaving your editor.
The Example Notebooks browser in the Wherobots sidebar.
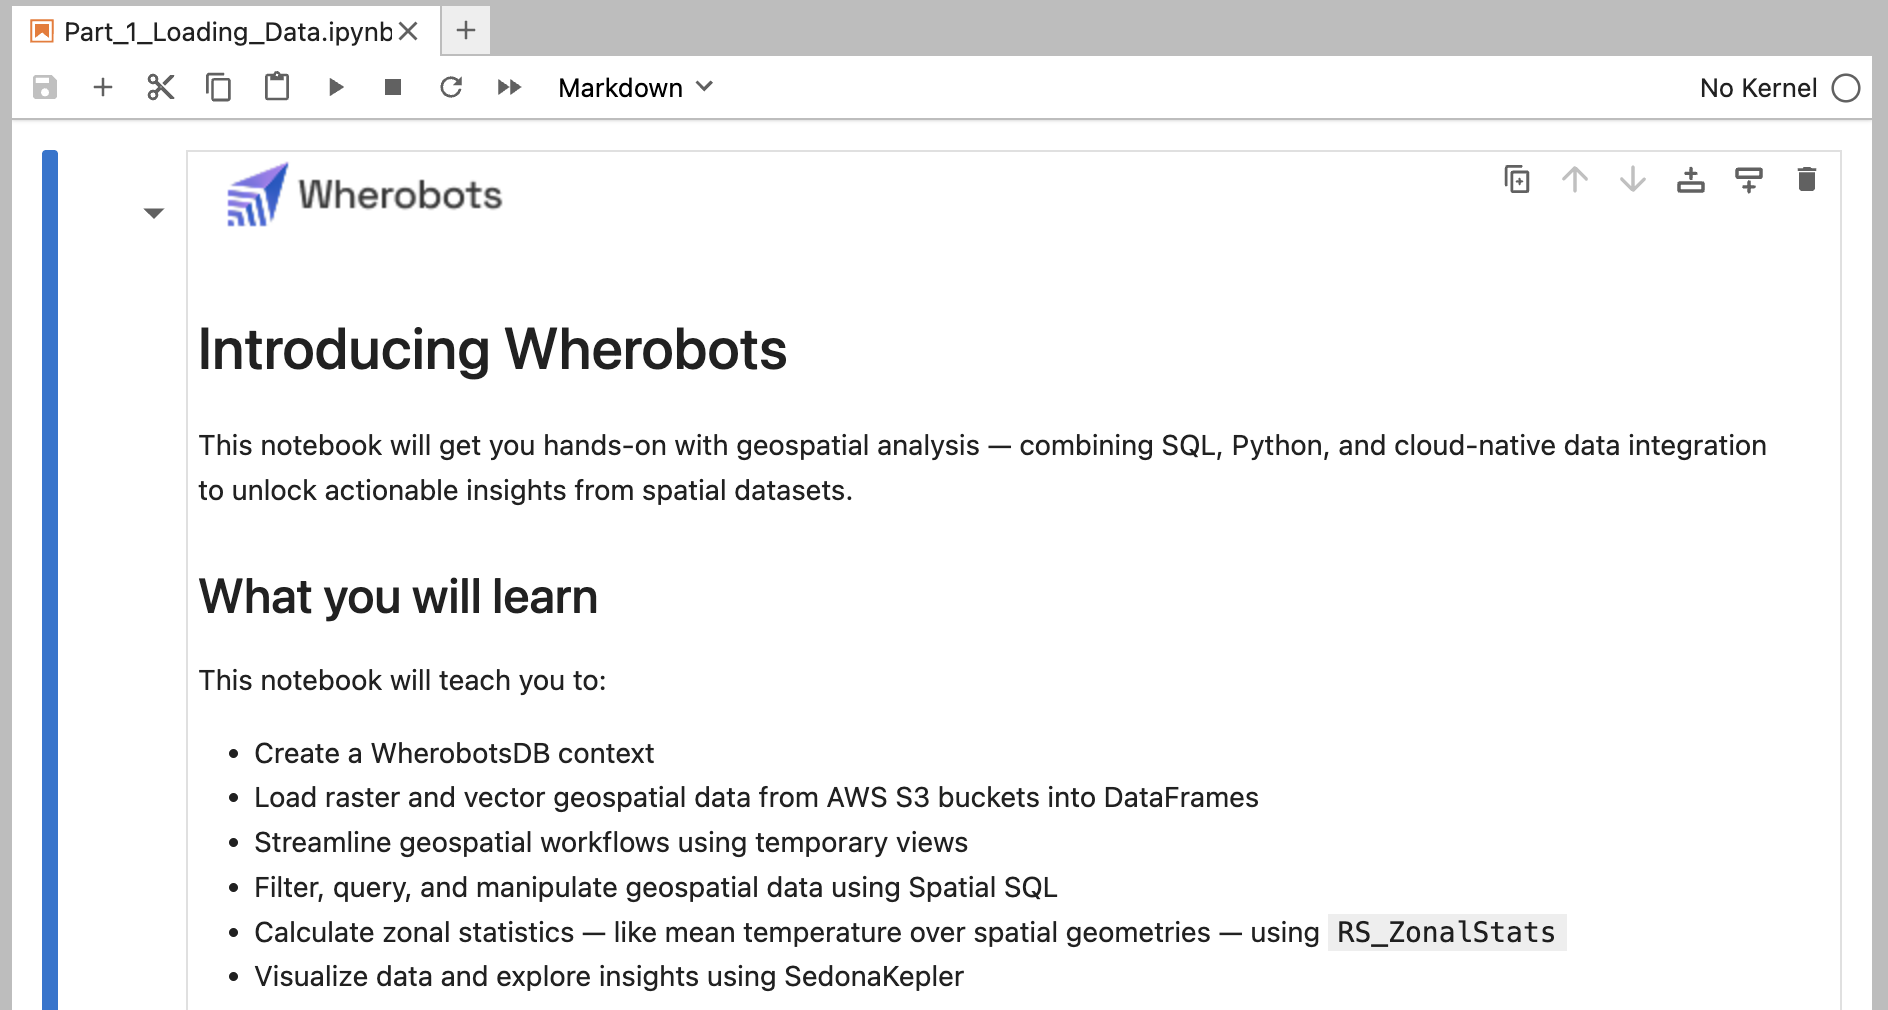
Open Part 1 Loading Data
Under Getting Started, click Part 1 Loading Data.
Create a runtime
Click Create a workspace, then click Create & Start to initiate a Wherobots runtime.A pop-up window will appear notifying you once your runtime is ready.
Starting a runtime begins the provisioning process. Once a runtime has been provisioned, a billable event is occurring.
Create a workspace for a notebook in VS Code.
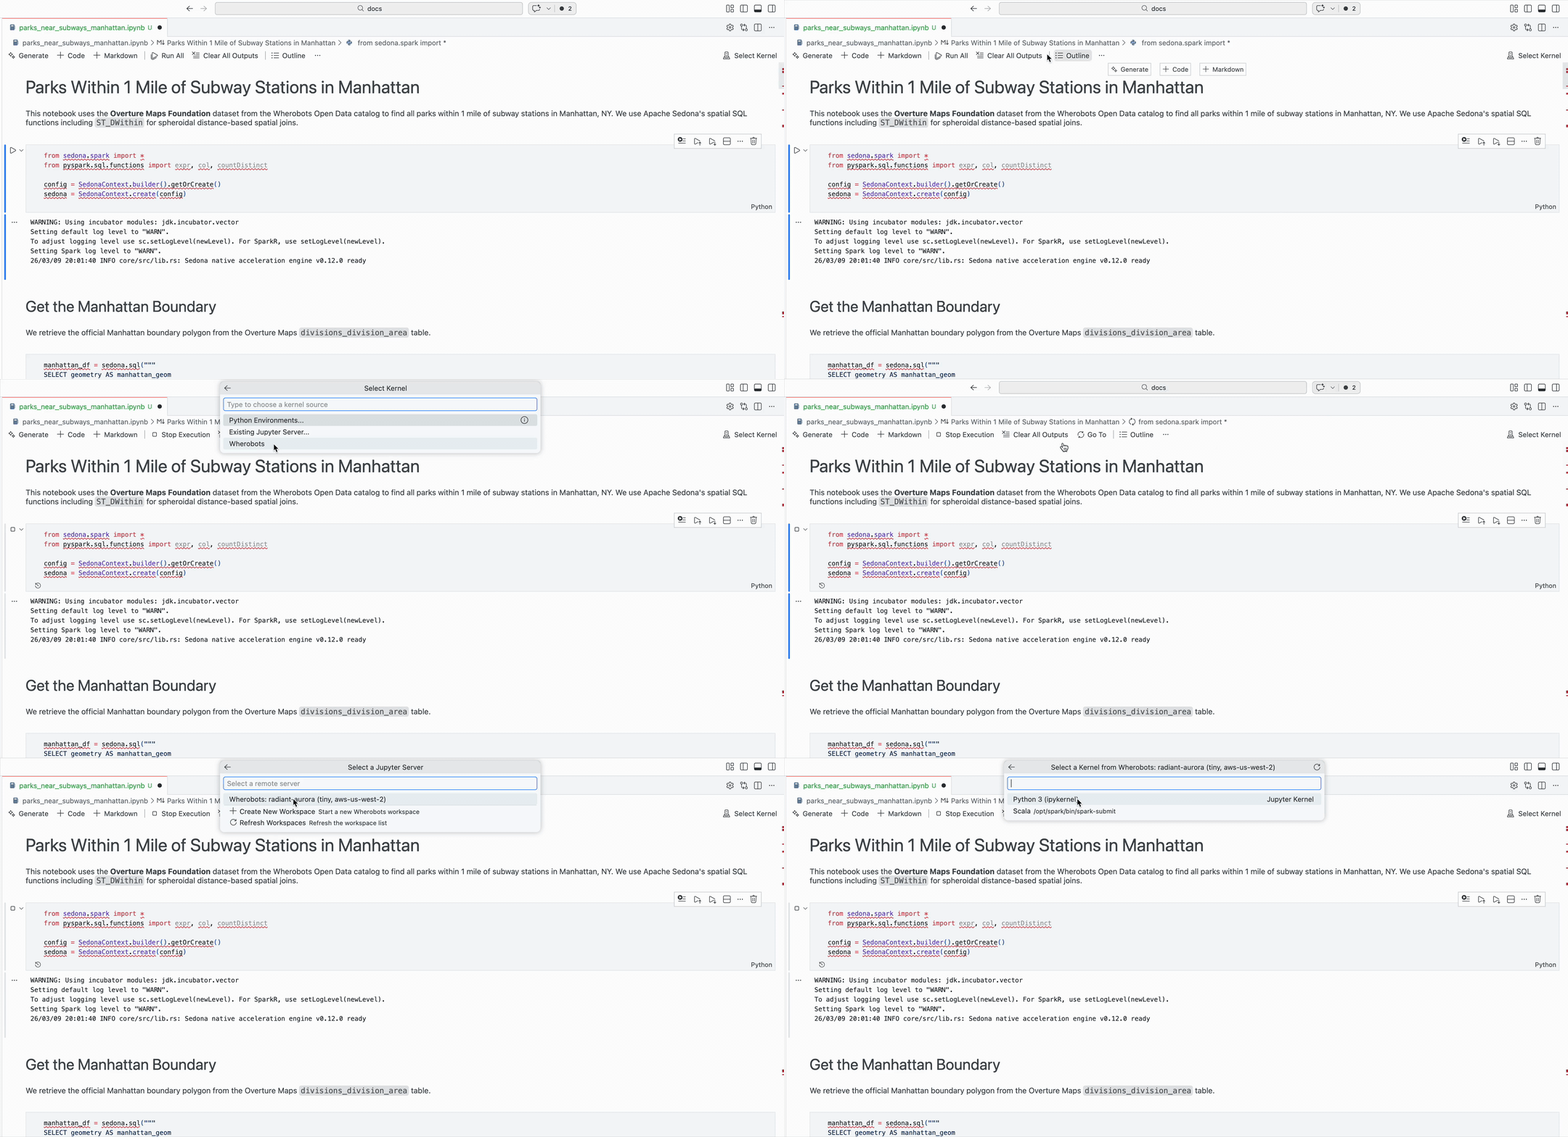
Select the Wherobots kernel
Click the icon on the left-side of the screen and select either the Python or Scala kernel.
Selecting the Wherobots kernel source for a local notebook in VS Code.
Run the notebook cells
Click Run All. Cells run on the runtime, and results appear inline in your editor.
If the list is empty, run Wherobots: Refresh Examples from the Command Palette.
Running a Jupyter notebook that you previously created is very similar to running the Day 1 notebook.After opening the notebook, connect the kernel and run the notebook cells.
Create a runtime
Click Create a workspace, then click Create & Start to initiate a Wherobots runtime.A pop-up window will appear notifying you once your runtime is ready.
Starting a runtime begins the provisioning process. Once a runtime has been provisioned, a billable event is occurring.
Create a workspace for a notebook in VS Code.
Select the Wherobots kernel
Click the icon on the left-side of the screen and select either the Python or Scala kernel.
Selecting the Wherobots kernel source for a local notebook in VS Code.
You can also hover over your active runtime in the ** Workspaces** section and click the icon to access ypo
Run the notebook cells
Click Run All. Cells run on the runtime, and results appear inline in your editor.
This works with any local notebook. Bring your existing work to Wherobots compute and datasets.
Open chat in Agent mode
Open your editor’s AI assistant and switch it to Agent mode. Choose an advanced model — the latest Claude Opus, Claude Sonnet, Gemini Pro, or GPT Codex — for the best results.
Describe the notebook you want
Prompt the assistant in plain language, and it writes the notebook for you:
Create a notebook that finds all parks within 1 mile of subway stations in Manhattan using the Overture Maps dataset. Run each cell.
Create a runtime
Click Create a workspace, then click Create & Start to initiate a Wherobots runtime.A pop-up window will appear notifying you once your runtime is ready.
Starting a runtime begins the provisioning process. Once a runtime has been provisioned, a billable event is occurring.
Create a workspace for a notebook in VS Code.
Select the Wherobots kernel
Click the icon on the left-side of the screen and select either the Python or Scala kernel.
Selecting the Wherobots kernel source for a local notebook in VS Code.
Run the notebook cells
Click Run All. Cells run on the runtime, and results appear inline in your editor.