Note
The introductory notebook appears when you first open a Wherobots Cloud Notebook. After that, you’ll see the Launcher.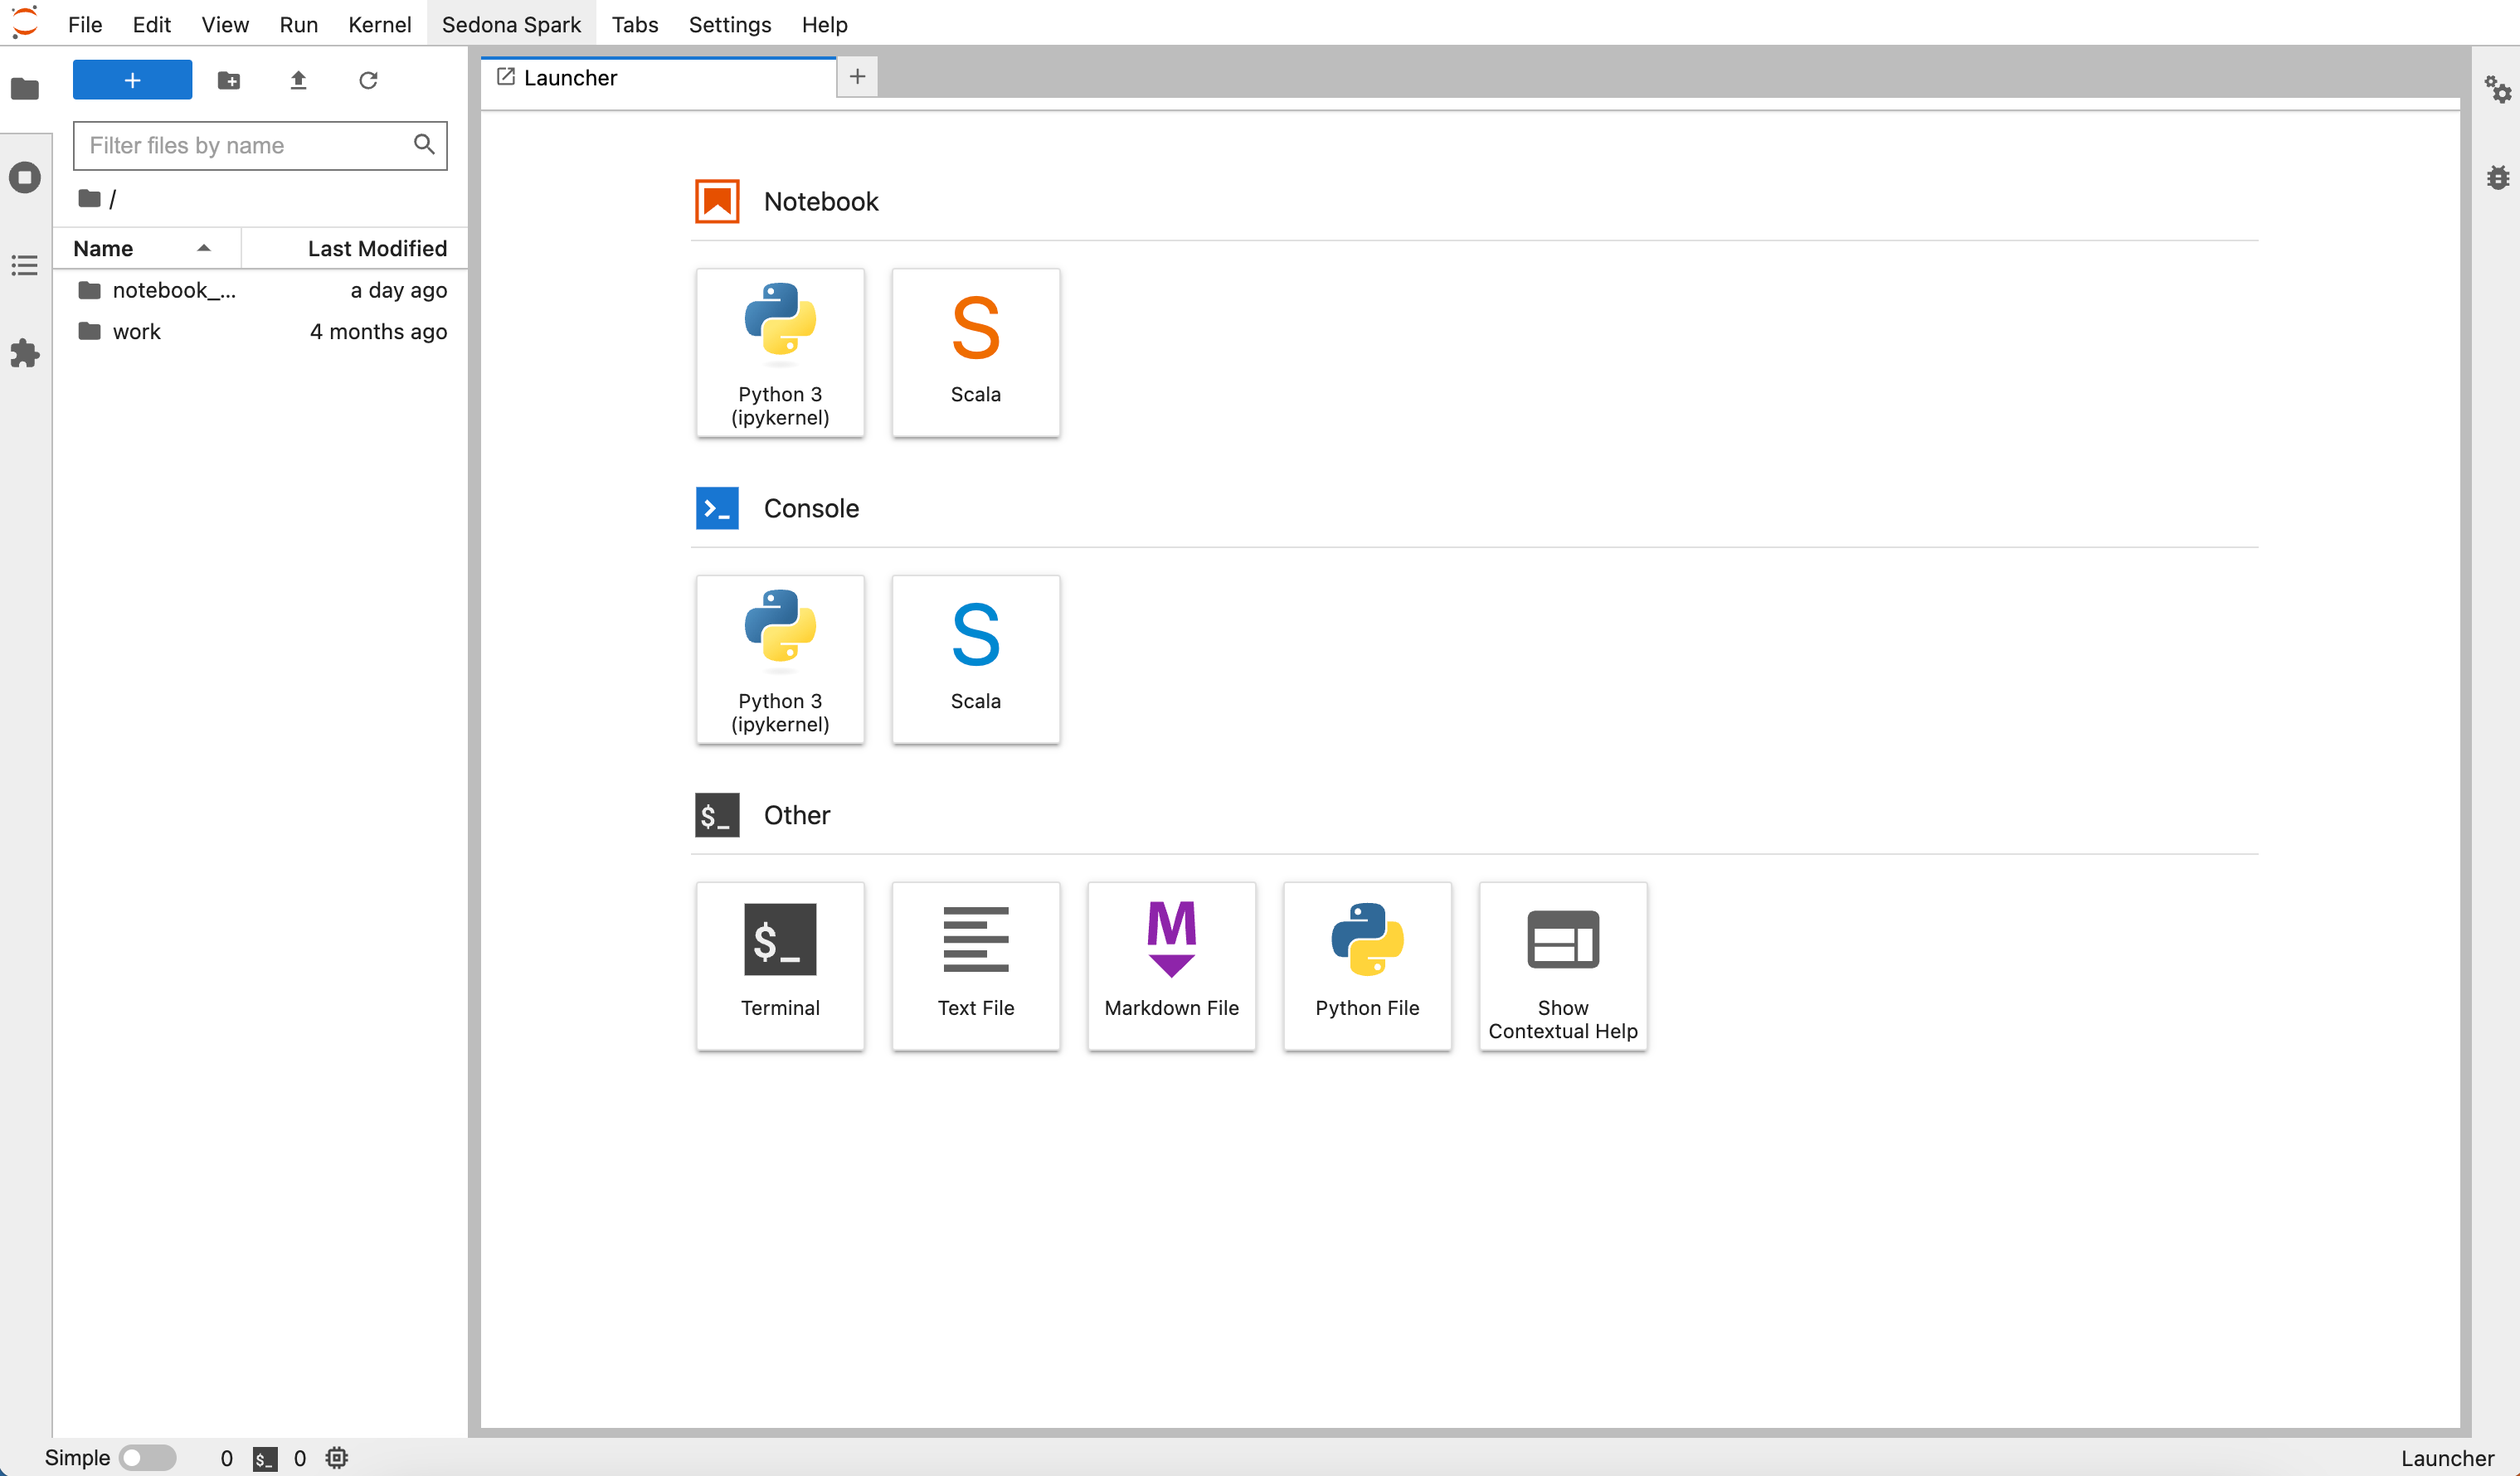
Note
A warning about a lost server connection may appear in your Jupyter notebook after extended use. Wherobots uses cookies for authentication, and these expire after an hour for security. Refresh the page to be redirected to the login screen, and after logging back in, you’ll return to your previous page.Before you start
The following is required to manage a Wherobots Notebook:- An account within a Community, Professional, or Enterprise Edition Organization. For more information, see Create an Account.
Execute a Jupyter Notebook
There are two types of kernels available for your Jupyter Notebook:- Python kernel (ipykernel)
- Scala kernel (Scala)
Spark Web UI
The Spark Web UI helps monitor, analyze performance, and optimize resources for efficient data processing. This aids in finding bottlenecks and improving application efficiency. You can access the Spark Web UI by clicking Sedona Spark and selecting the correct port number.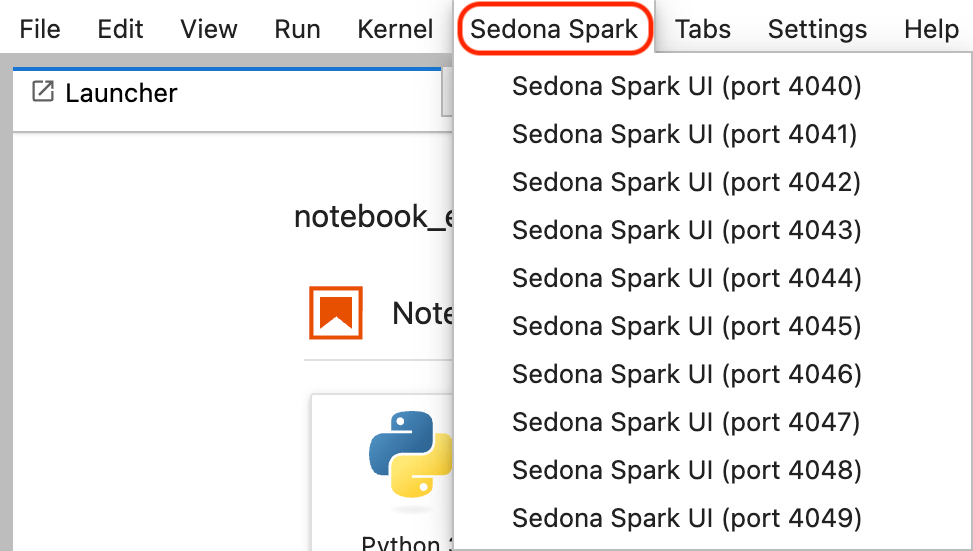
Execute all cells
To execute all the code cells in the Jupyter notebook, do the following within JupyterLab:- Locate the toolbar at the top-left of the notebook and click Run.
-
Click Run All Cells to execute each cell in the notebook.

Note
When you first execute a WherobotsDB code cell, you might see the following warning:Python zip library file support
In JupyterLab, users can import their own customized Python modules.-
On your local computer or within a virtual environment, create a directory called
zipmoduletest. -
In the
zipmoduletest, create a file namedhellosedona.pywith the following contents: -
In the same directory, add an empty
__init__.pyfile. -
Run
ls zipmoduletest.It should look similar to the above. -
Use the
zipcommand to place the two module files into a file calledzipmoduletest.zip. You can also use any file compression tool to zip these two files. -
Upload the
zipfile into Wherobots Managed Storage or within your integrated Amazon S3 bucket. For more information, see Notebook and Data Storage. -
Within a Notebook, use the following code to import the zip file.
The output will be:
Note
You can also include this code to import custom Python modules in job submissions.
Use an Amazon S3 Bucket with your Wherobots Notebook
For more information on accessing data from within an Amazon S3 bucket, see Access Integrated Storage in a Notebook.Info
To use new storage integrations or catalogs in your notebooks, you must start a new runtime. Notebooks can only access storage integrations or catalogs that were created before the runtime started.Open a specific Wherobots Notebook
To open a specific notebook, do the following in JupyterLab:- Click File > Open from path.
- Enter the notebook path.
- Click Open.
Export a Python Notebook
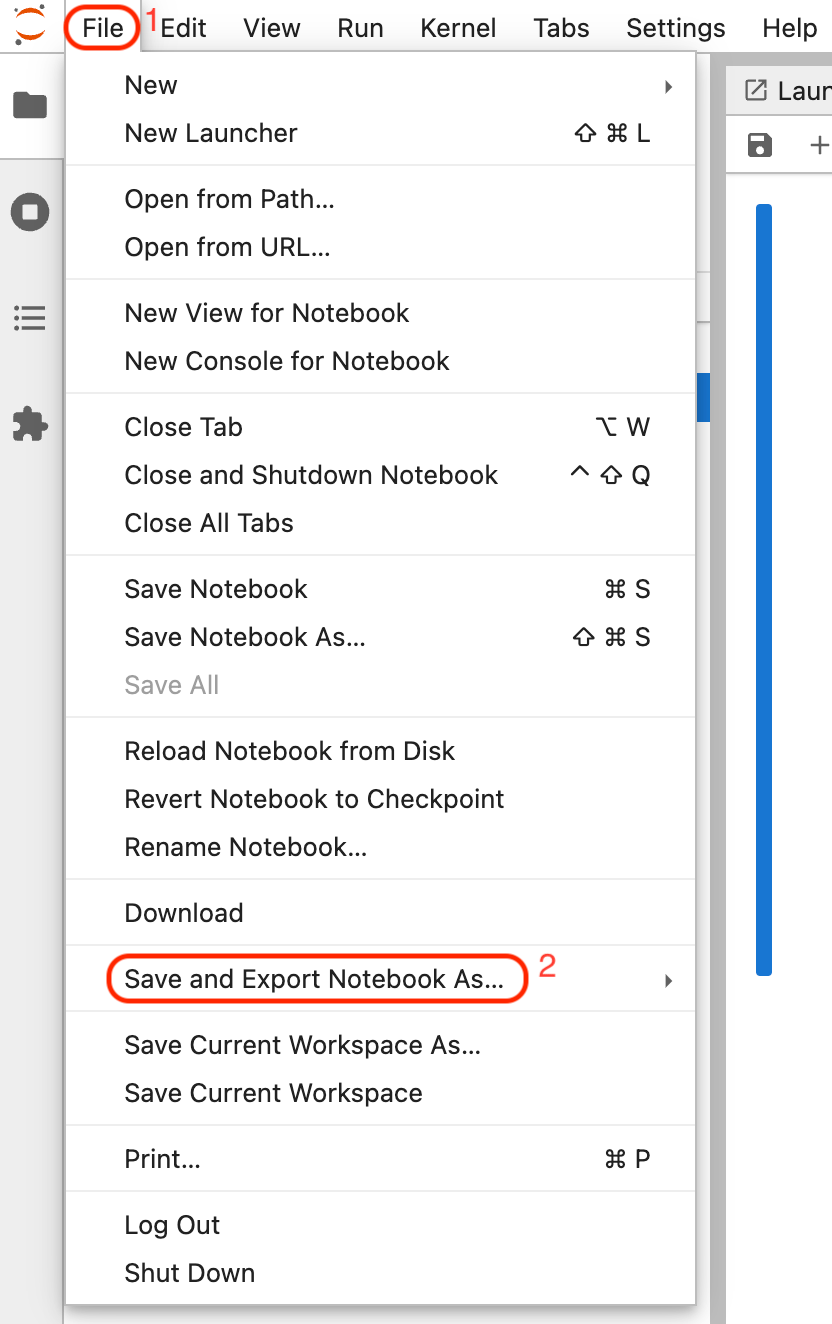
You can export Notebooks as executable Python files in order to create Jobs. To export your Python Notebook, do the following:- In the JupyterLab toolbar click File.
-
Hover over Save and Export Notebook As…
-
Select
Executable Script. The file will save to your machine.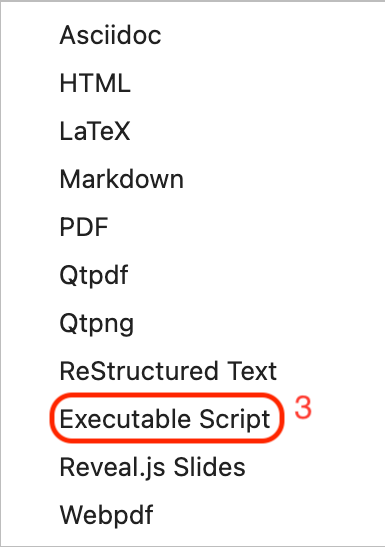
Export a Scala Notebook
To export your Notebook as an executable Scala file, do the following:- Within the JupyterLab toolbar click File.
-
Hover over Save and Export Notebook As…

-
Select Executable Script.
The file will download to your machine. You can import the Scala executable file to

sedona-maven-exmaple/src/main/scala/com/wherobots/sedona/for job submission.
Note
The Scala executable file that you create won’t have amain class. You can wrap the code after (excluding import statements) object <class-name-you-want> extends App { all-of-code }.Note
Executing a.scala file is not possible within the Jupyter Python environment. To execute code, utilize the Jupyter Scala notebook.Create Jar File
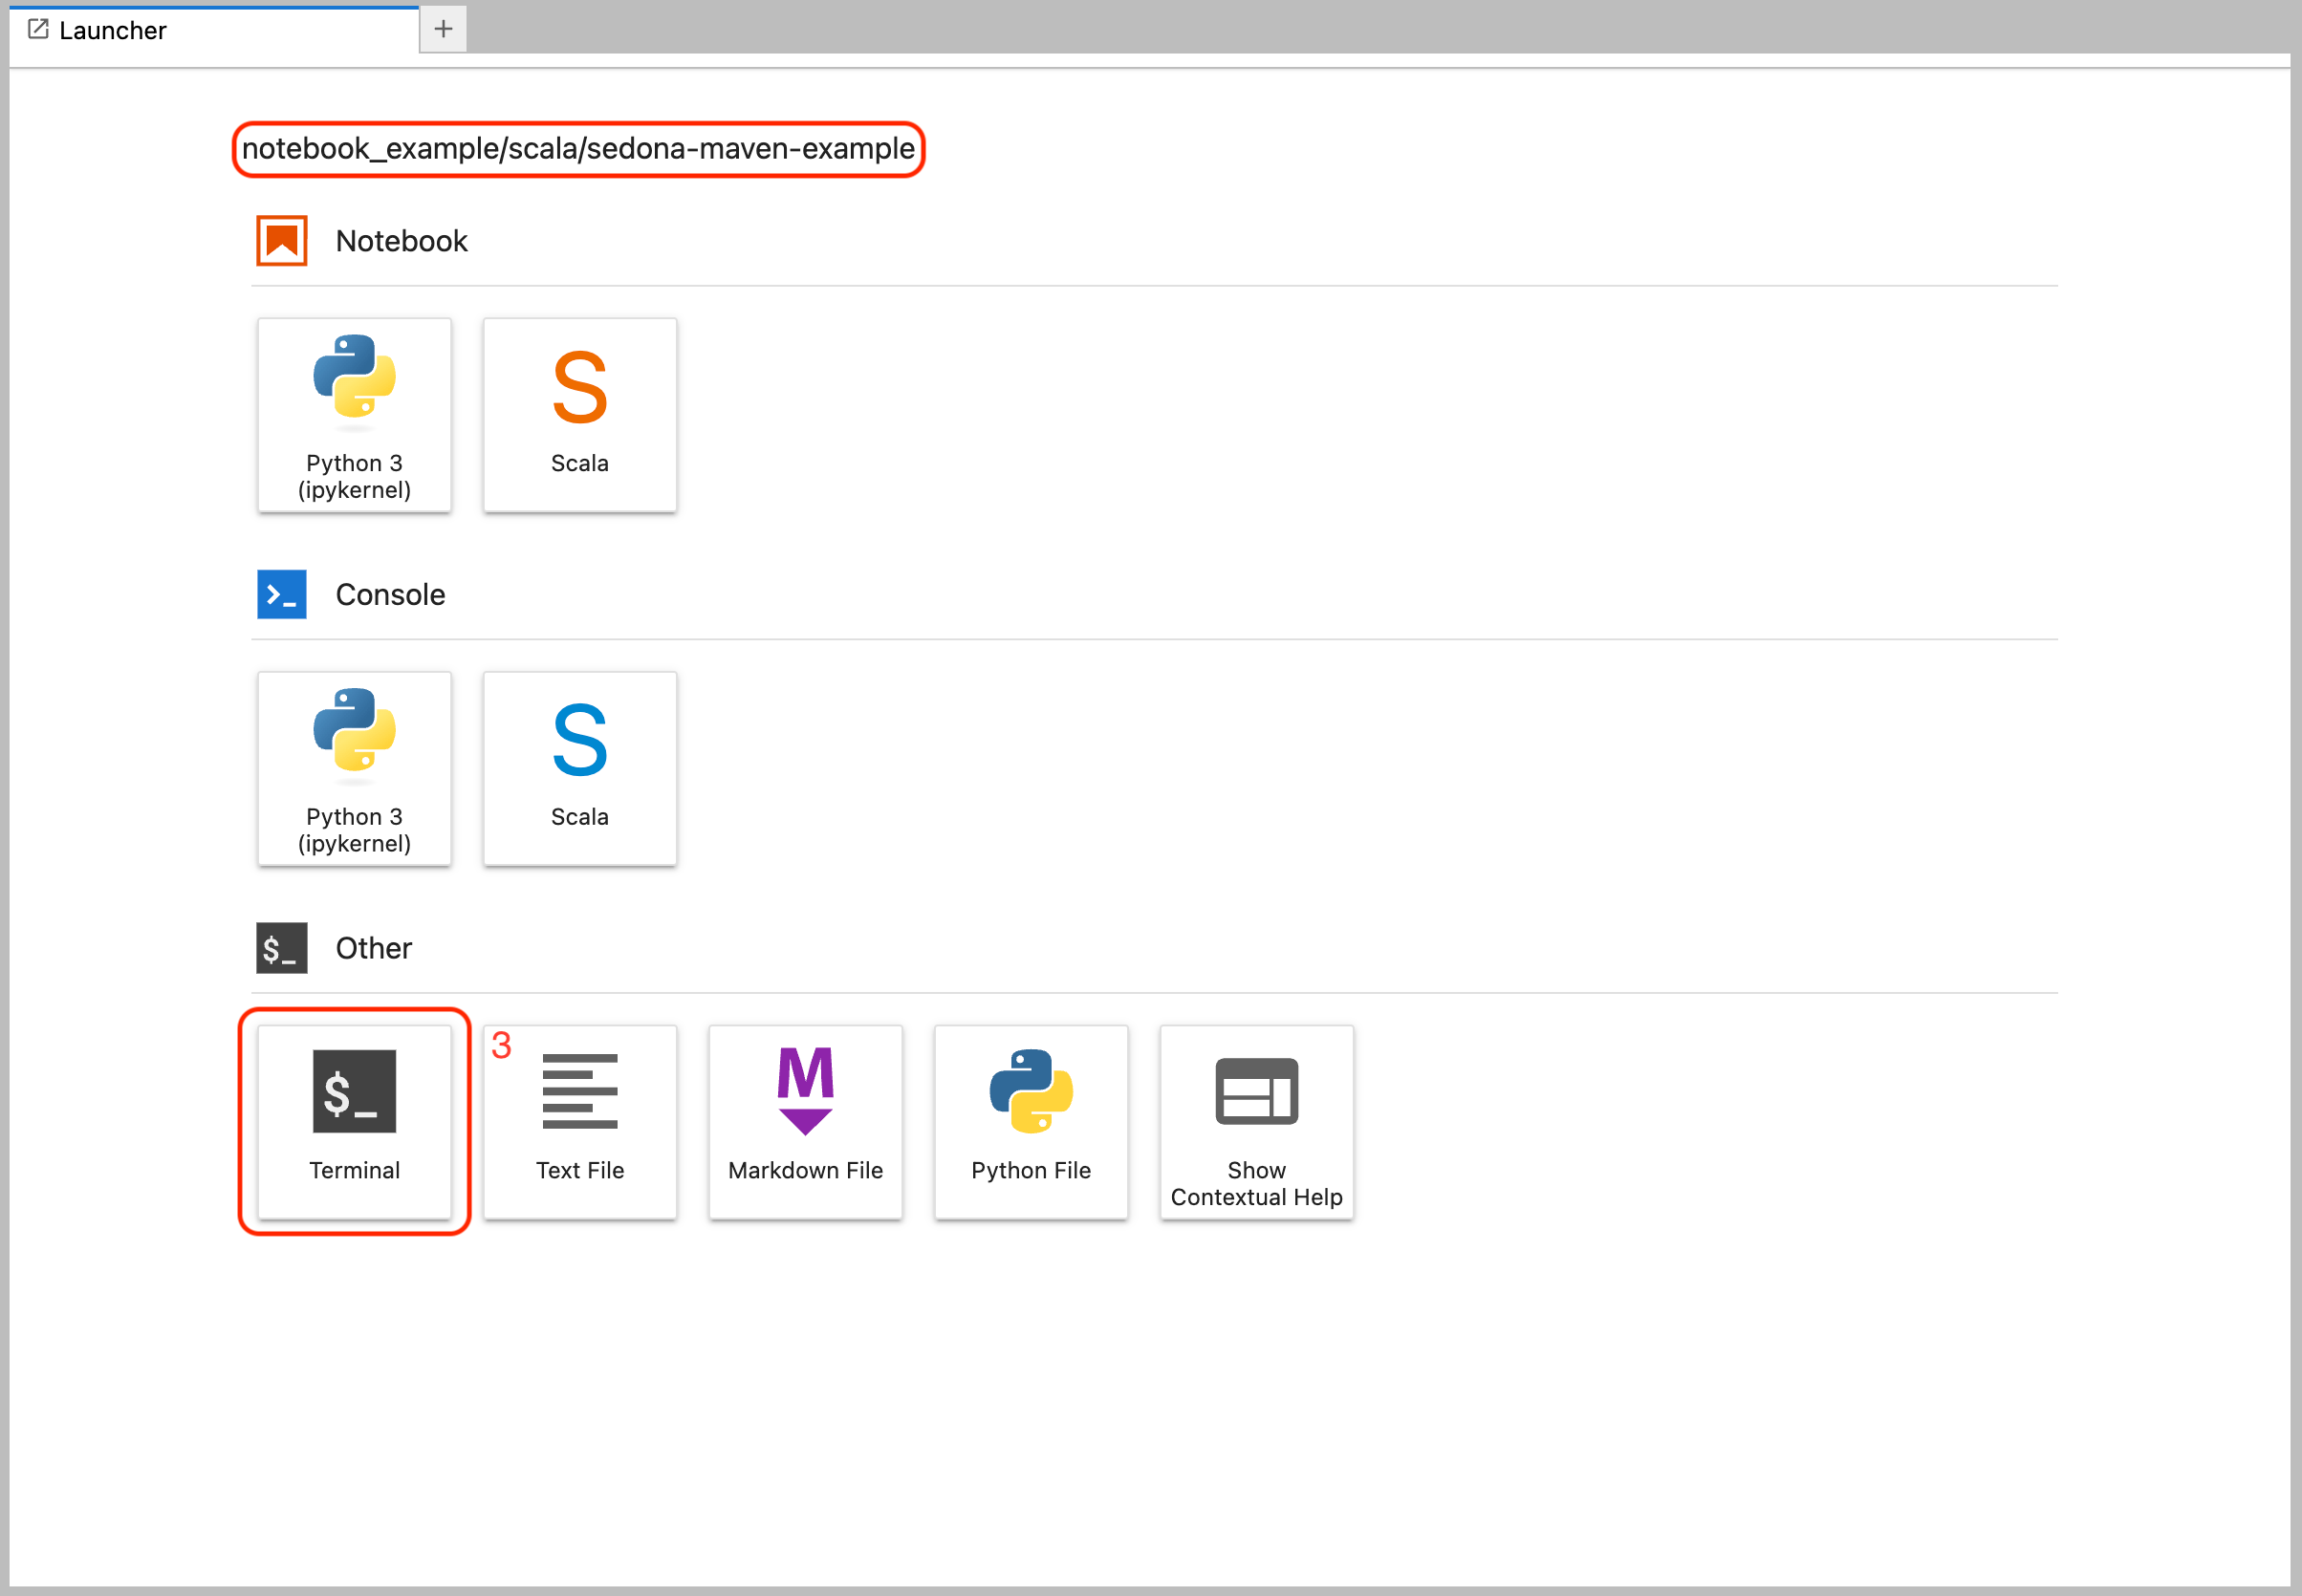
- Navigate to File on the toolbar in JupyterLab.
-
Click New Launcher.

-
Open Terminal.
-
Go the
sedona-maven-exampledirectory. -
Run
mvn clean package. -
Locate
targetfolder.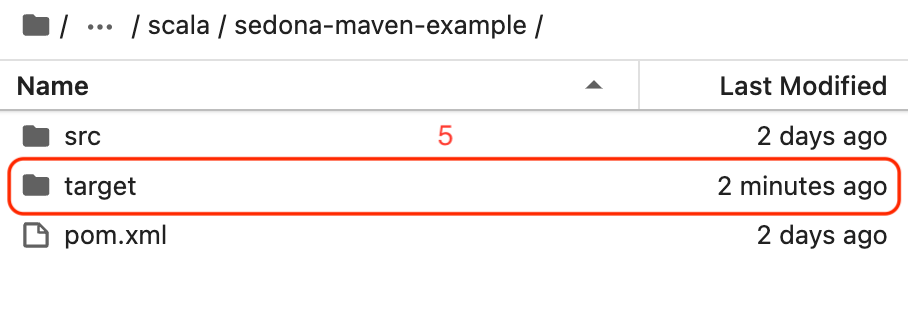
-
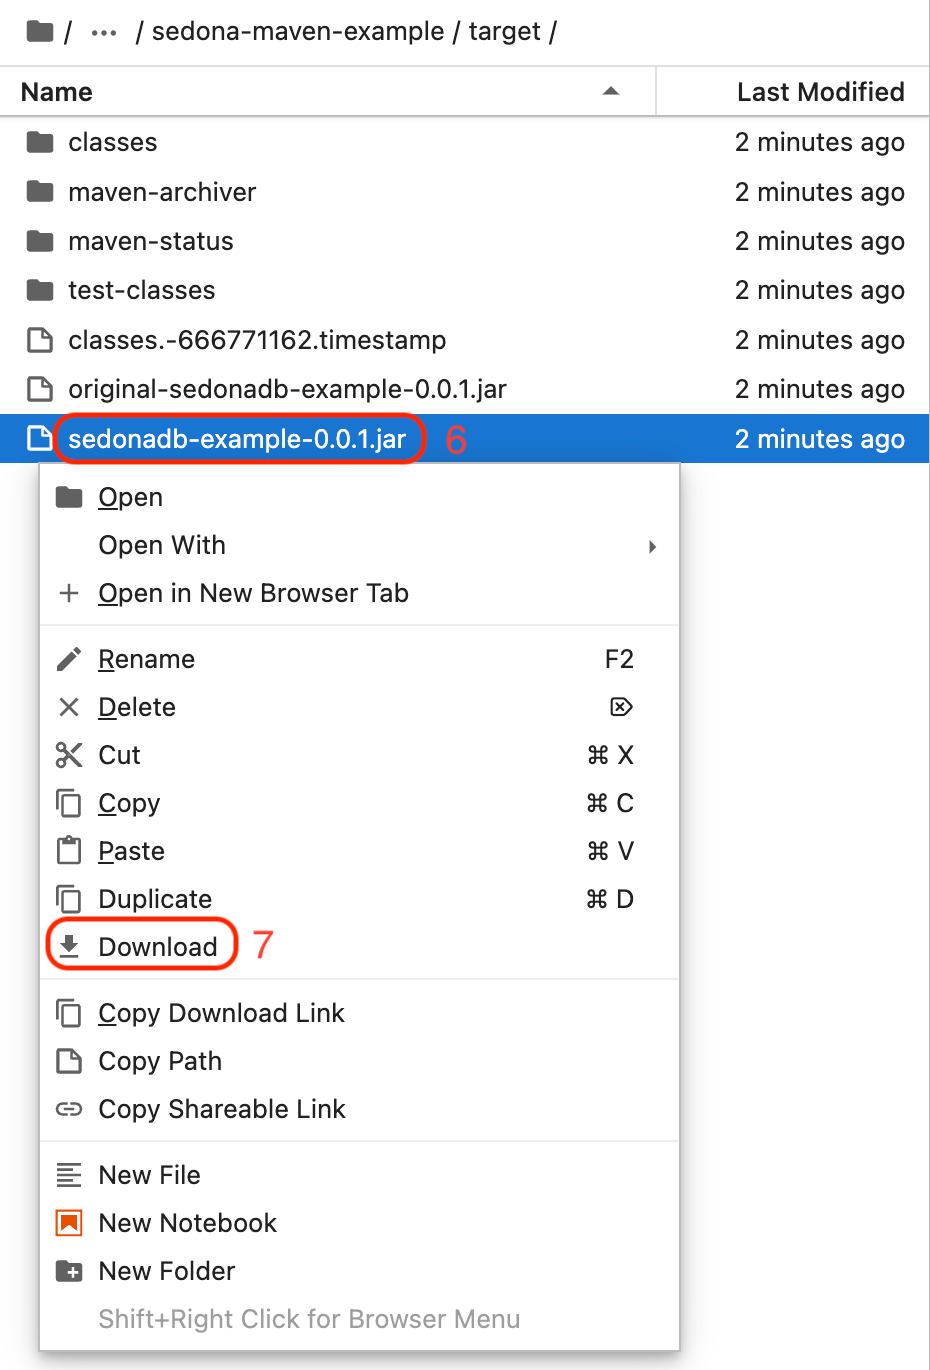
Right-click on
sedonadb-example-0.0.1.jar. -
Select Download.
Note
You may add any dependency to thepom.xml located at notebook-example/scala/sedona-maven-example.
